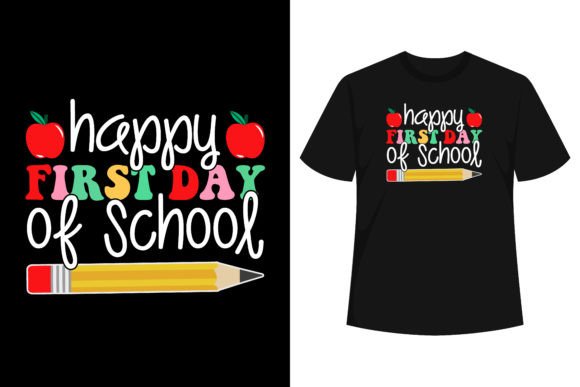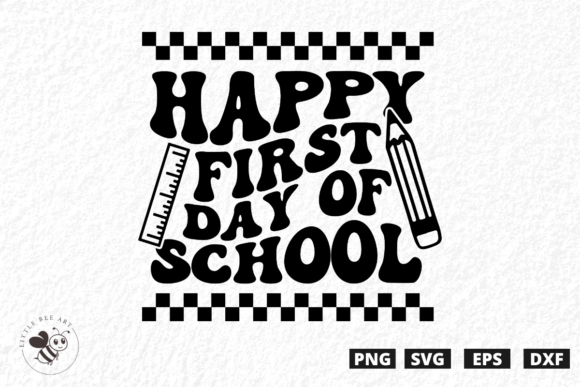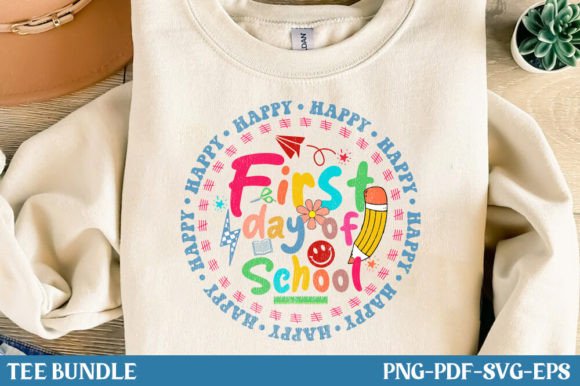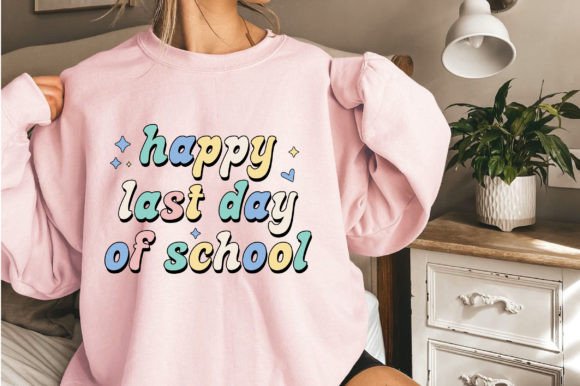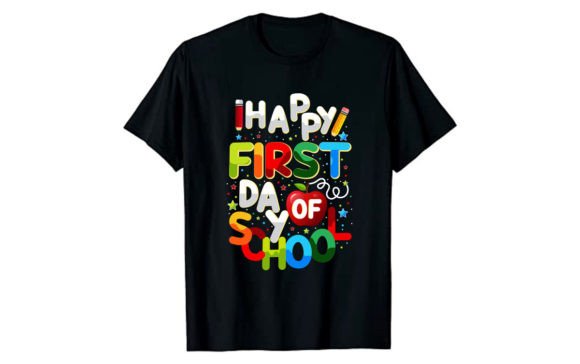
Happy First Days of School Typography
A Designer’s Real-World Check Before Stitching
I pulled up Happy First Days of School Typography last week while prepping for a back-to-school batch of embroidered tote bags and baby onesies for my local boutique client. Not as a quick download-and-stitch, but as a design I’d be putting my name behind—on tags, packaging, and Instagram posts. So I opened the vector files (AI, EPS, SVG), zoomed in, stepped back, and asked: Does this hold up—not just on screen, but under needle and thread?
First Impression: Warm, Simple, and Quietly Confident
The design reads instantly: friendly typography with soft curves, open letter spacing, and no heavy shadows or distracting flourishes. It doesn’t shout “first day!”—it smiles. That matters. When you’re embroidering for newborns, preschoolers, or teachers who want something heartfelt but not cutesy, tone is half the job. The layout flows cleanly across a horizontal line—ideal for chest placement on tees, center-front on totes, or arched over a pillow cover seam. No tight kerning traps, no overlapping letters that’ll collapse into mush when stitched small.
Where It Shines in Real Embroidery Projects
- Tote bag design: Works beautifully at 4–5" wide. The clean lines translate well in satin stitch, especially with matte cotton thread—no shimmer needed to sell the warmth.
- Baby embroidery: On onesies or burp cloths, scale it down to 3", use light stabilizer, and stick with soft poly thread. The generous spacing keeps stitches breathable and gentle on delicate skin.
- Sweatshirt embroidery: Great for left-chest placement on midweight fleece. Avoid dense fill stitch in the “y” or “g” tails—opt for lighter density or subtle running stitch outlines to prevent puckering.
- Embroidered patch: Clean edges mean sharp cutaway borders. Pair it with twill or felt backing for craft fair sales—it reads clearly even at arm’s length.
- Holiday or milestone gift: Think kindergarten graduation, teacher appreciation, or sibling “big brother” shirts. Its quiet sincerity builds trust faster than cartoon apples or oversized pencils.
Where to Pause—and Plan Ahead
This isn’t a “drop-in-and-go” file for every surface. Here’s where attention pays off:
- Small hoop sizes (under 4"): Letters like “a”, “e”, and “o” shrink fast. Test how the counters hold up—some vector outlines tighten too much when scaled below 2.5".
- Textured or stretchy fabric: On ribbed knits or slubbed linen tea towels, reduce stitch density by 15–20% and add medium tear-away stabilizer underneath. Don’t rely on the design’s visual simplicity to carry poor stabilization.
- Dark fabric: The design lacks built-in shadow or outline layers—so if stitching on navy or charcoal, add a simple white running stitch border manually (or in your digitizing software) for legibility.
- Caps and curved surfaces: The straight-line layout means it won’t wrap naturally around a crown. Best placed front-panel only, centered above the visor seam—not ideal for full-crown embroidery unless re-arched.
- Frequent-wash items: For kitchen towels or kids’ aprons, avoid ultra-thin satin columns. Slightly widen stroke weight in your embroidery file—or choose fill + outline combo—to keep text crisp after 20+ washes.
What This Design Says About Your Craft Business
Using Happy First Days of School Typography thoughtfully tells customers you care about more than speed—you care about longevity, tactility, and emotional resonance. It elevates a basic tote from “school supply” to “keepsake.” It makes a personalized baby onesie feel intentional, not generic. And for Etsy sellers or small shop owners, that nuance converts browsers into repeat buyers. It’s not flashy—but in a market flooded with clipart-style graphics, its restraint becomes a quiet differentiator.
Practical Notes Every Embroidery Designer Should Run Through
- Test the design on scrap fabric matching your final product—same weight, same weave, same stretch.
- Check thread color contrast on both light and dark mockups before digitizing; vector files don’t show how thread sheen affects readability.
- Review stitch density—especially in thinner strokes. Overly dense fills on small letters cause stiffness and distortion.
- Confirm hoop size compatibility early. If stitching on caps or sleeves, verify whether the design fits within your machine’s standard hoop range.
- Inspect corners and terminals—vector sharpness doesn’t guarantee clean satin stitch ends. Smooth out any jagged vector points before digitizing.
- Try black-and-white mockups. If it loses impact without color, consider adding a subtle outline or background shape in your embroidery file.
- Use proper stabilizer: tear-away for stable cottons, cut-away for knits, and fusible for lightweight linens.
- Verify licensing terms—this is a Graphics file meant for T-Shirt Designs, but commercial embroidery rights aren’t implied unless stated. If selling finished embroidered products, double-check usage permissions.
Final Thought: A Design That Supports Your Handmade Voice
Happy First Days of School Typography won’t win awards for complexity—but it earns respect for clarity, adaptability, and emotional honesty. It’s the kind of design that works harder when you work smarter: paired with thoughtful thread choices, smart stabilization, and honest sizing. Whether you’re stitching for a local preschool, listing on Etsy, or building a boutique’s seasonal collection, this file gives you room to focus on craft—not fixing cluttered vectors or fighting illegible letterforms. In embroidery, where every stitch carries weight, that’s not just practical. It’s professional.